Hi everyone!!
Sally here usurping Julie's blog again to share with you a quick, very fun tutorial tonight! :)
Julie knows me really well! She sent the Vermillion colorway of this fabulous line. I could not get over how yummy every fat quarter felt. The hand on this stuff is superlicious!!!
So I wanted to create something special with it. And it just so happens that I'm participating in a bi-weekly challenge right now called
Project Quilting. This week's challenge was to create a block for a Barn Quilt. Now a barn quilt is usually about 8'x8' and is one big block. (love this concept!!!) As I have been delving into these challenges, I have started to really combine my love of traditional quilting with more modern techniques, and this quilt is no different!
So instead of just showing my "barn quilt" off, I'm going to share with you how I did it, so if you want to recreate a fun "barn quilt" with fat quarters, you can, too!!
What we are making:
No doubt you've heard of the Wonky Log Cabin block. Well, I just expanded it and made it into its own quilt! yay!
Here's what you need:
Premium bleached and unbleached muslin (width 90")
Embroidery thread - white (optional)
Quilter's hoop (optional)
Embroidery needle (optional)
batting and backing (52"x52" each)
A couple of notes:
You can use Moda Bella solids for the light side of the block - (
get those here!) I personally love the muslin because you can get it in wider widths, which I use for most of my quilt backs (who has time to piece those suckers?).
And the embroidery thread is for hand quilting the middle block. You can machine quilt it all if you want! (or you can hand quilt it all!! I'm not picky!)
Let's make this quilt!
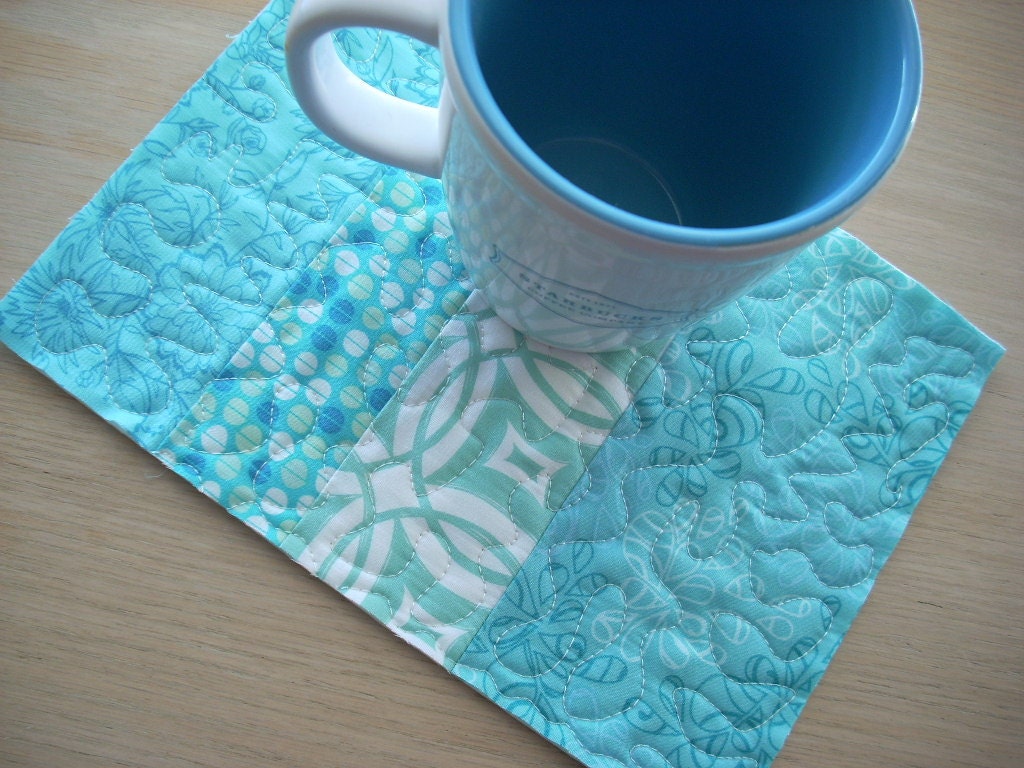
You can fussy cut your middle block. You want it to be a 12" square. Figure out which part of the fabric you want to show off. This is one of the reasons I picked this block...I wanted something that would show off the fantastic designs on the fabric!
Grab your first fat quarter (you will cut 6 this very same way) and cut it long ways (21") into 2 4"strips.
Sew that first strip onto the left of the block. Now, my darling friend Julie would teach you that you should measure out your strip exactly to a 4"x12" strip and then sew it on. In usual cases, this is true. But we are wonking it up here, so go ahead and sew the whole strip on, press it with the seam going to the strip, and trim that little extra part off.
Sew the second strip to the top of the block. Press and trim.
Grab your unbleached muslin and cut a 4" strip.
(when my left edge is uneven, I cut it about 3/8ths too big and then flip the strip and trim. just a little tip when working with a big pile of fabric. :) )
Sew the strip to the left of the block, press and trim. Then sew the rest of the strip onto the bottom. Press and trim! :)
Now it is time to what I call "wonk it up!!!"
Let me show you a pic of what I mean...
Put your ruler on the bottom of one corner and have a graduated strip of the edge ready to be cut off. This is "wonking" it up! You don't want your angles to be 90degrees. You want it to be a little funky!!
*if this bothers you, don't do it!! It's okay to have a straight 90degree corner quilt. The quilt police will not kick you off the island. And likewise they won't kick you off if you are a little off, too!! :)
Do this same process on all 4 sides. For all of the math geeks out there, yes, you will have a rhombus when you are done! :)
Now, add your next fat quarter (2 4" strips to the right and top of your quilt.) and your next bleached muslin. I loved the idea of alternating bleached and unbleached. I love white space (another modern technique!) so that's why I went that direction!
Follow the above steps of pressing and trimming and then you know what to do!!
"wonk it up!!"
The next fat quarter you use, you will need to sew two strips together to have a big enough strip to go on the side and top.
When you sew the strips together, press your seam open. It keeps the bulk down and seems (pardon the pun!) smoother. If you are morally opposed to pressing the seams open, no worries! Again, no quilt police to vote you off the island! :)
After these fat quarter strips and the muslin strips, wonk it up the opposite way. Put your ruler on the top of the strip and cut the edges off in a graduated manner.

This makes it even wonkier. I love this technique!! :)
Here's what my quilt top looks like at this point!
Continue adding the last three fat quarters always using 4" strips pieced to fit the sides, alternating with the unbleached muslin and bleached muslin.
Tip: you can always order full quarter yards or half yards of this gorgeous fabric from Julie to not have to piece the strips. But I'm kind of a fat quarter-a-holic, so I love this process. The last fat quarter will take all of the strips pieced together with even the trimmed part added back on (unless you wonk more than I did! LOL!!). Don't be dismayed by this. I think it adds character!! :) And I love to get the best from all of the fabric I get!!
After all of your piecing is done, this is what your quilt top should look like. Isn't it awesome?
Add your batting and backing and pin baste (or spray baste if that is your thing!)
Now comes the cool part....quilting it!
I chose to hand quilt the middle block to add some of the "traditional" feel ...with folky big stitches using embroidery thread (white). I used circles, because that is what was prominent in that middle block.
You can machine quilt it starting in the middle, too...I just happened to have 3.5hours to spend at the car detailing place so I could do the handwork! (LOL!!! I had to get that in there...my car was really big and really messy!!)
I am even more in love with this fabric after doing this handwork!!!
For the rest of the quilt, I wanted linear quilting. This portrays the "modern" feel right now, and I wanted that in my wonky funky quilt.
My darling friend Julie taught me a trick with linear straight line quilting ...
painter's tape!!
before tape...
after tape!!!
I just followed the edges of the tape to quilt it! Soooo super easy!!
And once that was done, I just added my binding with my last fat quarter and left overs of other fat quarters (2 3/8ths strips) and it is done!!!
This is my quilt on my barn wall..okay, it's my backyard...Mr Gorgeous had to put the gnome up there.
We are a wild bunch! Just ask Julie..she's been here to see us first hand! :)
and some close-ups of the quilt...
Perfect for a barn, don'tcha think???
for more of my wildness, come and visit me over at
my blog HERE!!
Special thanks to Julie for letting me take over tonight!!! and for the GORGEOUS fabric! (run to
her store and buy it tonight!!! eeeep!!)
 It is the top of my Pillow Talk Swap Pillow... the light was not great there so I will try to get a better picture once it is quilted and before I ship it off.
 The cheater panels are nice and big a full yard by WOF. What I like about this is there are a bunch of fabrics that don't have pink in them so you can pick and choose and make a boy quilt with them. I am in love with the vine fabric (third from the bottom in the pink and blue stacks and second from the bottom in the green) I want to make something for me with it.