Thank you Julie for inviting me to be a guest on your Intrepid Thread blog. Hello from Mary from Mary on Lake Pulaski. I'm here to provide a tutorial for this pillow which I call the Starburst:
 I made this same design and color pillow for a swap a few years ago and have been asked numerous times for a tutorial. When Julie asked for ideas for a tutorial on her blog, this is what came to mind.
Materials for 18" pillow:

(there are only a few so get it quick if you want it)
1. Using the Dresden ruler trace the angle WITHOUT the seam allowance and transfer to a piece of cardboard and cut out a template.


5. Number each segment (1 - 20) and then letter each segment across from another (ie 1A and 11A, 2B and 12B) as shown below.


If you look closely you can see I ironed segment 5E and 15E to the right side of the same fabric. Do this for all ten fabrics.
7. Cut out all segments ADDING 1/4" seam allowance to all sides.


Materials for 18" pillow:
- 1/8 yd. WOF of 10 fabrics – 5 of one color and 5 of another

- ½ yd. for pillow backing
- ½ yd. muslin
- 18" sq. of batting
- 18” X 18” piece of freezer paper
- 18" zipper (optional)
- Dresden ruler or protractor to obtain an 18 degree angle (I used a Dresden ruler minus the seam allowance)
- Piece of cardboard to use for angle template
- Pencil
- Long ruler (I used 6” X 18”)
- Something round to draw center circle (I used a roll of masking tape)
- Iron
- Ironing board
(there are only a few so get it quick if you want it)
1. Using the Dresden ruler trace the angle WITHOUT the seam allowance and transfer to a piece of cardboard and cut out a template.

2. Pick a spot NOT in the center of the square and draw a circle. Next draw a line from side to side through the center of the circle on the dull side of your freezer paper square.


3. Now line up the template you created with that line along one side and draw a line along the other side.


4. Continue until you have 20 segments like you would with a dresen plate. Use your long ruler to extend your short lines of the template out to the edge of the paper as shown above.

6. Cut on all the lines and cut out the center circle. Save all the pieces.
7. Identify the order you would like your fabric to appear around the circle and letter from A to J. Iron your freezer paper template to the RIGHT SIDE of fabric.

7. Cut out all segments ADDING 1/4" seam allowance to all sides.


8. Sew together in number order: 1&2, 3&4 etc. then 1/2 to 3/4 section etc.


I leave freezer paper attached as it helps to avoid stretching of the bias edges.

9. Remove freezer paper. Press seams open. Sandwich on top of muslin which is topped with batting and baste with safety pins.
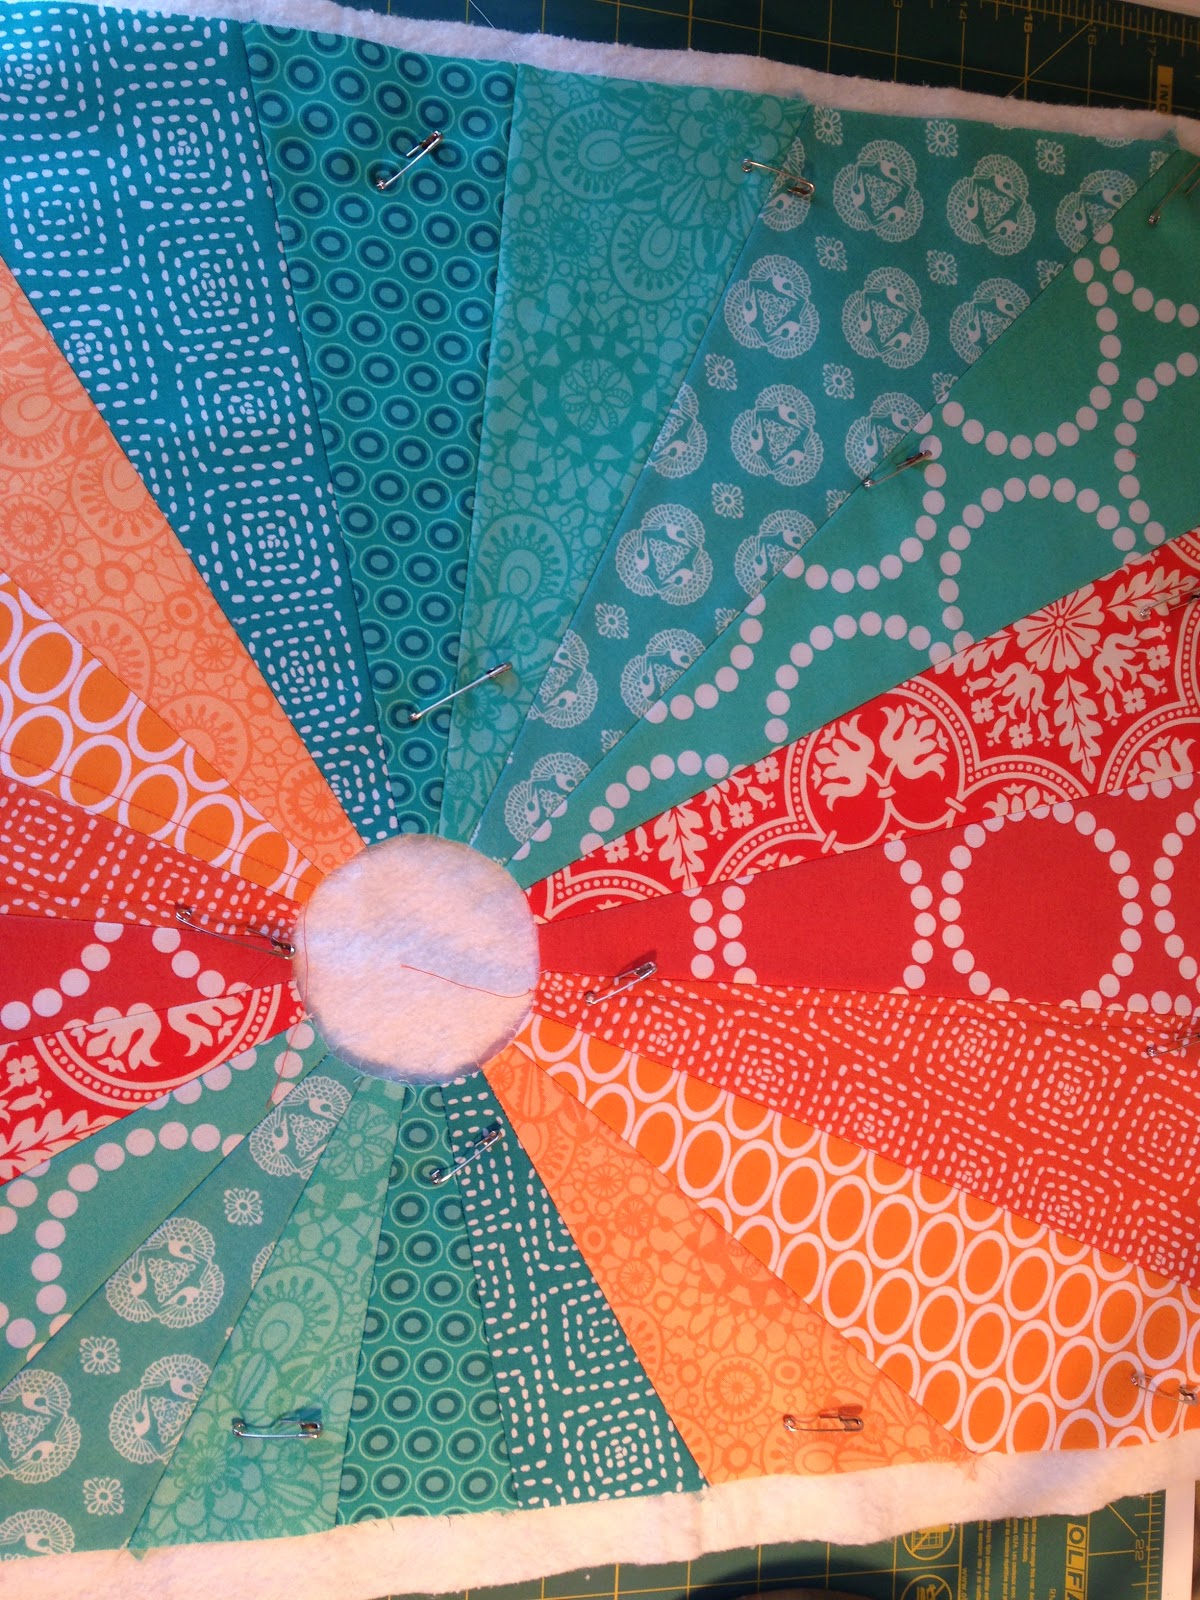

10. I topstitched on the left edge of each segment for my quilting. Quilt however you like.


11. You may choose another way to cover the center circle. This is how I did mine. Iron the freezer paper circle to the WRONG side of the fabric.

12. Using a small paint brush paint liquid starch to the seam allowance a small section at a time.

13. Using a small iron, press the seam allowance over the freezer paper working slowly and avoiding pleats.

14. Turn over and press with your regular iron. Remove the freezer paper.

15. Pin to cover opening and hand stitch edges using a blind stitch or ladder stitch. Make your own style of pillow back and sew to the pillow front. I made a zipper back with a flap covering the zipper. Turn right side out, press and insert pillow form.
16. Enjoy your new pillow!

Stop by my blog HERE and see what else I'm up to! If you make this pillow, I would love to see it. Please email me or send me a link to your flickr photo.
For the giveaway today Rachell at Claddaghs, Quilts and Stars is hosting, we have Field Day by Josephine Kimberling. So head on over and enter to win some yummy retro goodness.


