Regularly Scheduled Programming Resuming Soon...

Wednesday, March 28, 2018
Hey Everyone,

I meant to have the next block for the Beginnings up this week but I have been so sick I can barely get out of bed. I will have it up for you next week. In the mean time you can enter to win a free Pajama pattern on my last post. No one has entered yet so your chances are pretty good :)

Be back soon... looking less green. Let's hope! In the meantime enjoy the flowers from my yard :)

Love,
Julie

Manicure Mitts Free Project

Monday, March 26, 2018
 Hey Everyone,

Welcome to the Cricut Self Care Blog Tour!
I made these cute mitts for you. I used to be a manicurist. It is true. In a past life LOL In our shop we had a heated oil bath that you dipped your hands in then we had special soft mitts that you could put on and let the oil soak in without it getting on everything. That is where I got the idea. To be honest I have been wanting to make these for myself for a long time so this was the perfect excuse to give myself a little self care.


If you missed it, there is a list of everyone else on the tour on my last post.

Be sure to see the giveaway at the end of this post.

These mitts are so fast and easy they would make a great present for a girlfriend. Add some polish and maybe make a little zip pouch to keep them in.


Manicure Mitts Free Pattern


Supplies:

¼ yd External Fabric (I suggest quilting weight cotton)
¼ yd Lining Fabric (I suggest soft jersey knit, fleece, or minky)
Thread
Proper Machine Needles (ballpoint if you are using knit)
(This is an affiliate link) Cricut Maker Cutting Machine

You can find the file for these mitts on Cricut Design Space at this link (I drew them myself using the design shapes so that you could easily download and cut the pattern):


I have also added a template pattern to the download.

Cutting:

If you are cutting with the Maker cut the pattern once with the exterior fabric and once with the interior fabric. From each of the fabrics cut two mitts with template right side up and two with template right side down. You should have 8 pieces when you are finished cutting. 


Instructions: Seam Allowance is ¼ inch unless otherwise stated. Here is a video with instructions as well.


1.       Place each external piece right sides together with a matching lining piece. With the external piece on the bottom sew the wrist edge only. Leave a 2” opening in the center of each of the pieces that have the thumbs facing to the right for turning.
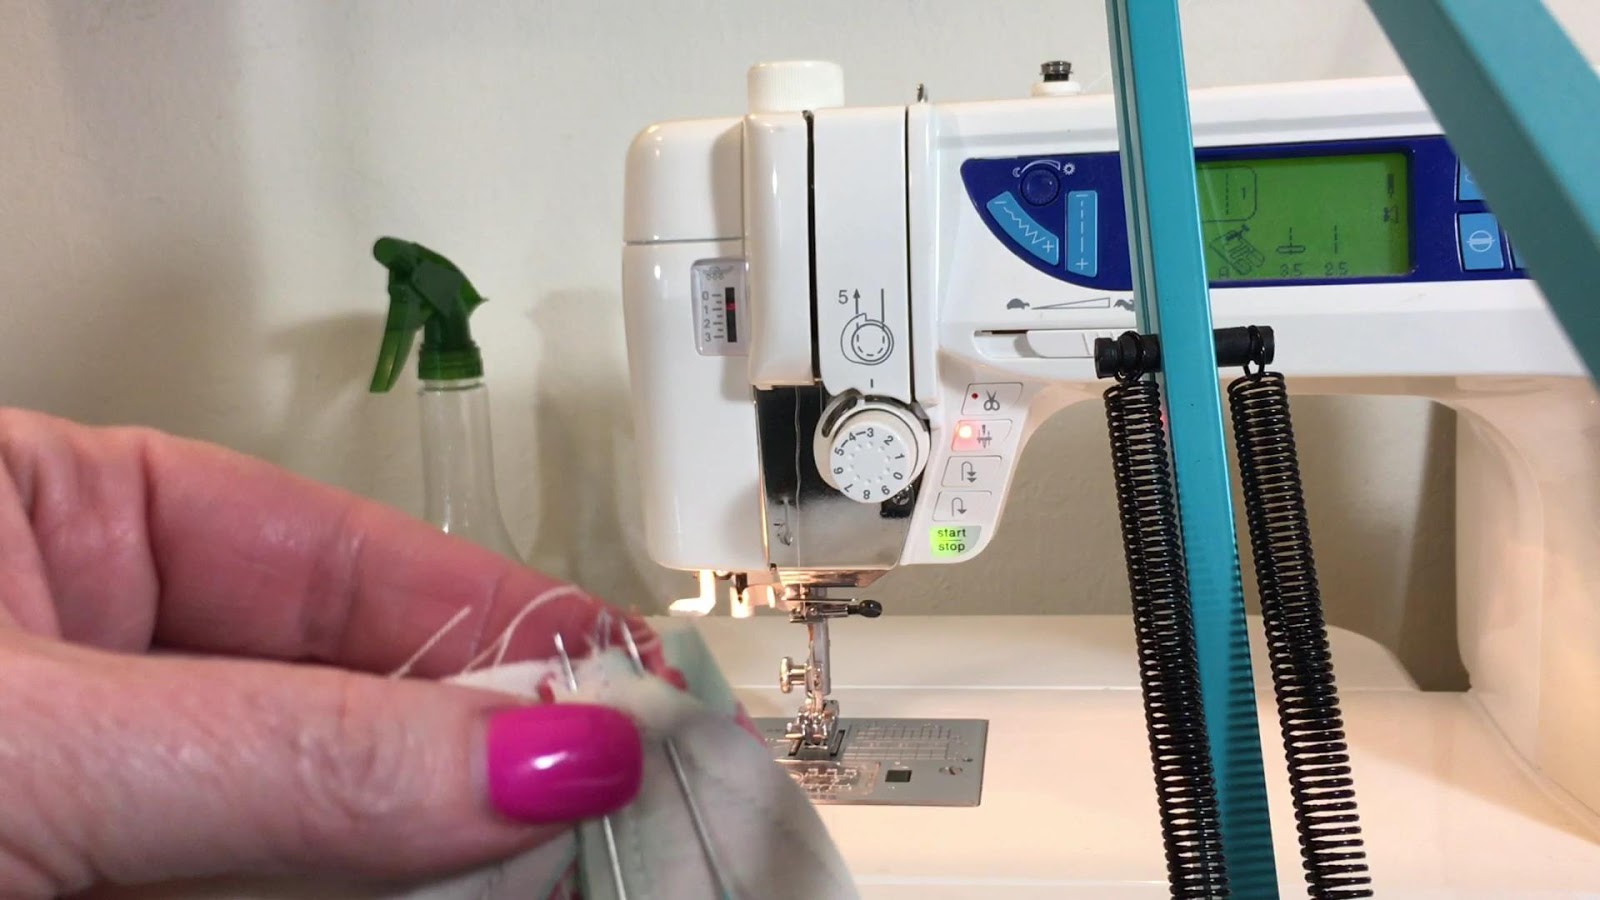
2.       Open up and lay the pieces flat. Press toward the external pieces. Place the pieces right sides together matching the lining pieces and the external pieces with their counterparts. Sew all the way around starting at the seam of the external pieces and sewing around to the seam on the opposite side of the wrist. If you are using a knit for the lining switch to a ball point needle and sew the lining. It will look like the photo at the right.
3.       Clip into the thumb notch all the way to but not through the stitching.

4.       Clip all of the curves.

5.       Turn out through the opening at the wrist.


6.       Press. Press seam allowance under at the opening. Top stitch close to the edge of the wrist catching in and closing the opening.

Slather your hands up with a moisturizer (Olive Oil and Coconut Oil are my favorites) and put on your new gloves to keep the oil from getting on things while it penetrates into your skin. These are a super simple fast project for a gift. You could grab some pretty polish, cuticle oil, and a cute nail file and wrap them up for a quick birthday present.

Now for the fun Giveaway:
 I am giving away a free download of the pattern for the Gabriela pajamas above. Can I just tell you how excited I was to see that they have my size? Also the pattern has all kinds of help for fitting. Honestly you are going to be amazed at the amount of information in this pattern. You can make it as shorts, below knee, ankle, or footie. You can customize the sleeve length. The sizes are 00-36 ... I think everyone in the family needs these. Look here to see it in sizes similar to yours. On real women.

To enter to win the pattern. Do one or all three of the following and leave a separate comment for each thing that you do.

1. Follow me or let me know that you already do.
2. Subscribe to my YouTube
3. Repost on your social media of choice.

I will draw a winner on Monday, April 2nd.

Hope you love it!
Julie

Come along on the Self Care with Cricut Blog Tour

Tuesday, March 20, 2018
Hey Everyone,

I am a stop on the Self Care with Cricut Blog Tour. My day is coming on the 26th but I didn't want you to miss out on the fun in the mean time.

If you need a Cricut Maker (trust me you want one) please consider getting one through my link which is an affiliate link. It helps me keep all the content on this blog free and doesn't cost you anything extra. You can get your Maker here.

The Pajama suit above is a fun new pattern that is being promoted with this blog tour. I will have a download of the pattern to giveaway on my post day but you should go enter on each of the blogs. There is a list below with links.

There is a beautiful e-Mag to tell you all about it and give you some great self-care tips. You can download that here.

Have fun on the hop:

Self Care with Cricut Blog Tour

3/19: DIY Adult Onesie with Sassy Drop Seat // DIBY Club 
3/19: Matching Robe and Slipper Set // Not So Cli-Shéa 
3/20: Custom Sleep Masks // See Lindsay 
3/20: Mother of the Bride HTV Tote // Dragon Fly and Lily Pads 
3/21: Mug Rug and Custom Coffe Mug // Sally's Angelworks 
3/22: Peppermint Scrub and Container // Practical and Pretty 
3/22: Me-Time Custom Socks // Clarks Condensed 
3/23: Personalized Throw Blanket // The Quiet Grove 
3/24: Felt and Fabric Bookmark // Crafting in the Rain 
3/24: Adult Coloring Book // Jordan's Easy Entertaining 
3/25: Ice Cream Cozy // Pattern Revolution 
3/25: Bow Pencil Case // Sook Ee Designs 
3/26: Manicure Mitts // Intrepid Thread 
3/26: Mantra Banner // Albion Gould 
3/27: Knit Headbands // Lily Shine Creates

New Quilter's Planner Stickers For April

Thursday, March 15, 2018


Hey Everyone,

I created some new stickers for you. This month I did two free sheets. Since it is Easter on April first I couldn't resist giving you some bunnies for Easter. And a Unicorn with an ice cream cone for a horn. They would be great for your kids too...

And here is the regular monthly sampler... I made you a fun coloring Tattoo girl **heart eyes


I didn't realize why I feel like April needs to be Purple and Yellow until I went out in my yard. I have Irises and Crocuses all in purple and yellow... so pretty. Also my lemon tree smells delicious in the rain :) Here are the three premium sheets that I have up for Sale Here (this is a very large file so give it a few minutes to download and also a little while to get the email once you purchase)


 I ran out of time to make my BOM block today but I will get it done and show it in a day or two :)

Love,
Julie

The Beginnings Quilt Along Block 3 - Friendship Star

Thursday, March 8, 2018
Hi Everyone!

Are you ready for our next installment? I did the nine patch and the pinwheel first because they are the building blocks for so many of the awesome quilt blocks that we make all of the time. This is a mix of the two it is the Friendship Star.

If you have been using the Cricut Maker to cut your blocks you should have all of the pieces cut already. Here is the video I made to support this block. It is nice and short since these are techniques that we have covered in the last two blocks but it will help if you have questions.


The Beginnings QAL (printable PDF)


Friendship Star for Beginnings Quilt Along intrepidthread.blogspot.com

Block 3 the Friendship Star (6” Finished)


For Two Blocks (you need two blocks)

Cut:
4 – 3” squares of Focus Fabric
2 – 2 ½” squares of Focus Fabric
4 – 3” squares of background fabric
8– 2 ½”  squares of background fabric
  
Instructions:

  1.  Mark the back of each of your 3” background squares with a diagonal line from corner to corner. Just as we did with the Pinwheel.

2. Place one focus fabric square right side together with one background square matching all the edges. 
3. Pin on either side of the diagonal line far enough away to allow the presser foot to pass down either side of the line. This is just to keep the fabrics from shifting
4. Using your ¼” foot sew ¼” away from the diagonal line on the left. If you have a foot with an edge for the ¼” you might want to adjust your presser foot pressure so that it is lighter. This will keep your foot from making your fabric shift.
5. Go ahead and chain piece the second set of squares by repeating step 3 and 4
6. Turn the blocks around and sew a ¼” seam on the opposite side of each of the diagonal lines.
7.    Cut apart each square at the diagonal line. And press to the dark side 
8. Square up each block to 2 ½”.
9. Lay out the blocks so that they look like the picture below. Stack the points for the two blocks so that both blocks will face the same way and be oriented correctly.


   10. Finish laying out the blocks like the picture to the below.  


   11.Sew your rows together just like you did with the nine patch block. (pattern on the blog) Press the top and bottom row so the seams go toward the outside and the center goes toward the center. 


   12. Nestle your seams and pin on each side of the seam. Just as we have been doing. Also pin at the end of the seam so the pieces don’t shift.
  

13. Start your seam. When you get to about an inch from the center of the block where your points are going to match up slow down. You want your seam to go right where those three seams make a point where you had your center pin. Be very slow and careful there. I used grey thread so you can see better. 
14.  Open and have a look… if the points aren’t perfect and they are too wide, meaning they cut off the point, pick out the seam and try again. If the points are there but there is too much space then just sew your seam a little wider. You only need to pick out a few stitches right in the middle to fix it.
     15.      Press well. The block should be 6 ½” unfinished.

 I hope you enjoy this block... I will have a new block for you week after next.

Love,
Julie

Custom Post Signature

Custom Post  Signature