Hi Everyone!
Sorry it is a little late... let's get started....
1. From pink tone on tone fabric cut 3- 4 1/2" x 14 1/2" rectangles and 4- 3 7/8" x 7" rectangles
From each of three cupcake fabrics cut 3- 3 1/4" x 6 1/2" rectangles
From each of two cupcake fabrics cut 2- 3 7/8" x 7" rectangles
From cream tone on tone fabric cut 3- 4" x 15" rectangles

2. Print template here and tape together matching dashed line in the center and the cutting and sewing lines.

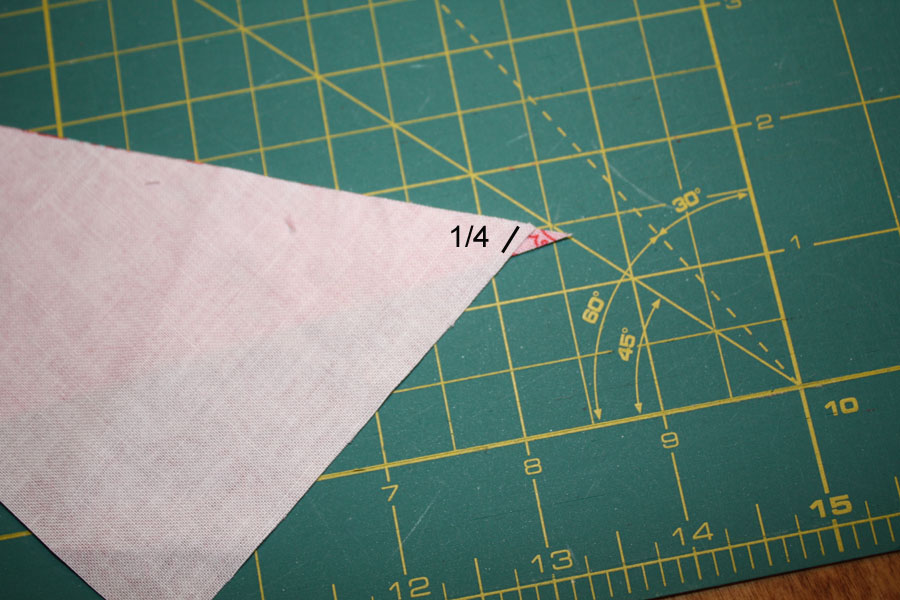
3. Grab two pink tone on tone 3 7/8 x 7 rectangles and two matching cupcake fabric 3 7/8 x 7 rectangles and cut them corner to corner this direction:


4. Grab the other two pink tone on tone 3 7/8 x 7 rectangles and other two matching cupcake fabric 3 7/8 x 7 rectangles and cut them corner to corner this direction:

5. Lay out three of each cupcake fabric and tone on tone matching triangles so they look like this (you will have an extra piece of each fabric left over):

7. When finished these should measure 3 1/2 by 6 1/2. Trim the points of the side and you will have something that looks like this:

8. Lay out three stacks of cupcake fabric 3 1/4 by 6 1/2 triangles and sew them together in sets. Press (direction doesn't matter).When finished they should measure 6 1/2 by 8 5/8. Trim to 6 1/2 by 8 1/2 (this was the only way to make these without giving you crazy measurements to cut and the 1/8 off one side doesn't even show) They will look like this:

9. Add the triangle units to each side so that your cupcake looks like this:

10. Sew the 4 1/2 by 14 1/2 pink tone on tone rectangles to the top of the cupcake bases press and set aside.

Here is my applique method. I think this is the simplest and I am not big on hand applique, altough these would be super easy to hand applique. I didn't want raw edge because I want this to be a childs quilt but if it were for a wall hanging I would probably go ahead and o raw edge. Use whatever method you like this is just one way.
11. Trace the sewing line of the template onto the non-adhesive side of your feather weight interfacing three times. Make sure there is at least 1/2 inch between each of the tracings. Use whatever marking method you prefer here the marks will not show because they will be turned under.


11. Cut the three pieces apart. You can do this roughly as seen below. Make sure there is at least 1/4 inch around he perimeter of all of the pieces.

12. Put the interfacing together with one 4 by 15 piece of cream fabric. The right side of the fabric should face the adhesive (bumpy) side of the interfacing.

13. Sew all the way around the marked line. Sewing the interfacing to the right side of the fabric.


14. Trim around the applique approximately 1/4 outside the line/stitching. Then clip the bottom curves of the applique. Clip into the corners being sure not to clip your stitching. trim your outside corners well.


15. Seperate the two layers and make a small clip in the interfacing.


16. Trim around the inside approximately 1/2 inside the stitching. Leave the interfacing behind the scallops this will keep the cupcake fabric from showing through the lighter cream fabric.

17. Carefully turn right side out use your favorite pointy tool to turn the corners (I like my chop stick).

18. Use your finger or the flat side of your chopstick and press around the perimeter. You can't use an iron here because you have fusible :)


19. Lay the applique on the cupcake. The points of the scallop should be just under the seam of the background and cupcake. The side points should be a little more than 1/4 inch insdie the edge of the block so they are not cut off when sewing the blocks together.

20. Use your iron and press the applique to the cupcake block. The fusible will be facing the block so that you have a nice fused edge to sew down. This is not a super strong hold like fusible web would be so if you need to re-position you can. This will be just enough to hold the applique in place while you edges stitch it on.


21. Set the stitch length a little longer on your machine that what you would use to piece. Top stitch close tot he edge of the applique, stopping to pivot at the points and tops of the scallops.

We won't add the sprinkles (buttons) until the quilt is quilted.

22. Sew your three blocks together and attach to the previous two rows.

She's looking cute :)


Cute, cute! Very nice directions, love all the pictures too. Nice job!
ReplyDeleteCute. I like that method of applique, too!
ReplyDeleteThis is the cutest quilt ever!
ReplyDeletethis is just so cute....seriously cute
ReplyDelete