Hi Everyone,
Thanks for all of the great comments on the 200th post giveaway, I really appreciate them. As I said in the post, it snuck up on me. Since I wanted to get the newsletter sign up going with that post I had to scramble to get it all set up for you guys to sign up. I didn't have time to write a post about what the newsletter will be for. I wanted to do a few things that were a bit more labor intensive than a regular blog post so I decided that a newsletter once or twice a month would be less overwhelming than trying to get it all into a daily blog post. The newsletter won't be a re-hash of what is in the blog it will be all new content that is exclusively for the newsletter subscribers. The first newsletter will have a tutorial on how to match patterns so that the side of your bags (or dresses, blouses, etc...) will look as nice as the front and back, with seams almost hidden. It is also a full tutorial on making a shopping bag so you will actually get a finished project out of it. So I hope you guys will sign up and enjoy it.
I have a question.... would you guys like it if I carried the fusible fleece and interfacing I use for my bags in my shop? Let me know in the comments if you would.
I am having a sale on Kumari Garden in the shop... it is 20% off my regular price which is close to 30% off MSRP so I hope you will go check it out. The sale is running through next Friday 5/6. Don't forget I am always willing to make special cuts and do reserved listings for you.


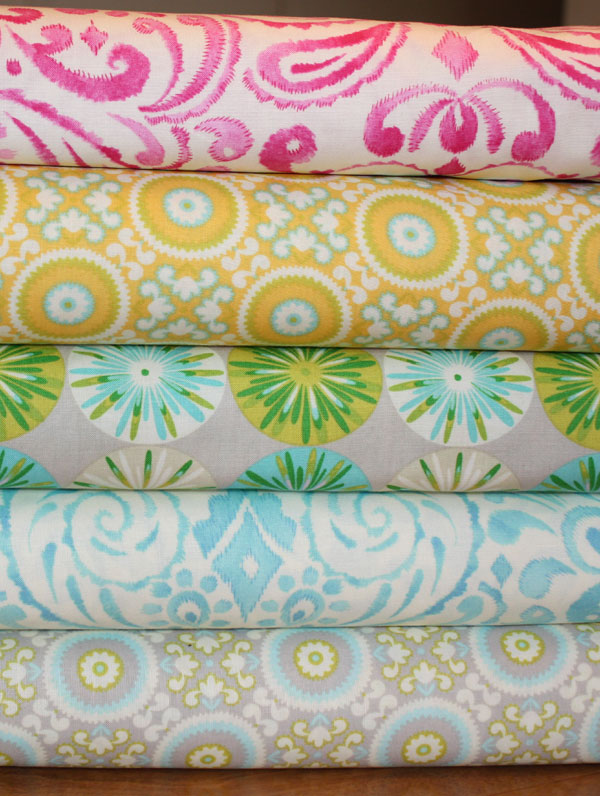


A circle / dot print from each of 6 lines that are coming soon to my shop.